
So a few of the IGGPPC Nerdfighter folks are having a friendship bracelet exchange. I was excited to participate, because I've only ever made bracelets less than a handful of times. I can actually only think of two. Ha. About ten years ago, I made five, one for me and four of my friends. But the bracelets were really bulky and I think I chose some ugly colors, so I don't think anyone really liked them. Before that was probably closer to fifteen years ago. Back then, friendship bracelets were all the rage, and of course, my parents wouldn't take me to a store to get me any embroidery floss to participate. So the only bracelet I ever made I paid fifty cents (from my milk money) for the floss to make one bracelet. I could have bought floss to make a dozen bracelets for that fifty cents, but I couldn't go to the store to get any myself. Those were my two experiences with making friendship bracelets.
So I was excited to try these thingers again. My original thought was to crochet a simple thread three times in white, then braid those three together and intermix them with rose gold links. I wanted something simple looking, with the white, yet somewhat elegant, with the rose gold. So I grabbed these supplies:

I quickly figured out that this plan was not going to work. The crocheting didn't make the thread thick enough, and the intertwined links looked awful. I tried many ways to hook them together, but in the end I junked the idea.


So I went back out and grabbed some more thread, adding mint and pink to the white. Then I used this technique to make some bracelets.
You start by cutting a circle out of cardboard, then making eight slits evenly around the circle. (Don't cut all the way to the center.) In the center, make a hole big enough to shove a bracelet through.
You tie seven strands together, shove the knot through the center of the circle, and either tape it there temporarily, or hold it there tightly. Make sure you keep the strands tight to make the bracelet tight.
Place each strand in its own slot .

Take the third strand clockwise from the empty slot.

And put it in to the empty slot.

Keep doing that.

Over and over again.

You'll end up with a neat looking, rope-like bracelet.


I made nine total. Only eight are shown though.

Once they were done I was lost. I wasn't sure how these thingers are supposed to be tied. They seemed to be a bit too thick. And I wanted it to be easily removed if needed. Luckily, I found this video: How to tie a bracelet end.

But back to my first picture... I really wanted to do something with those links. After a bunch of playing around, I came up with this design:

To make it, I put 7 links together. Then on either end I secured two strands of floss. (I folded that floss in half first)
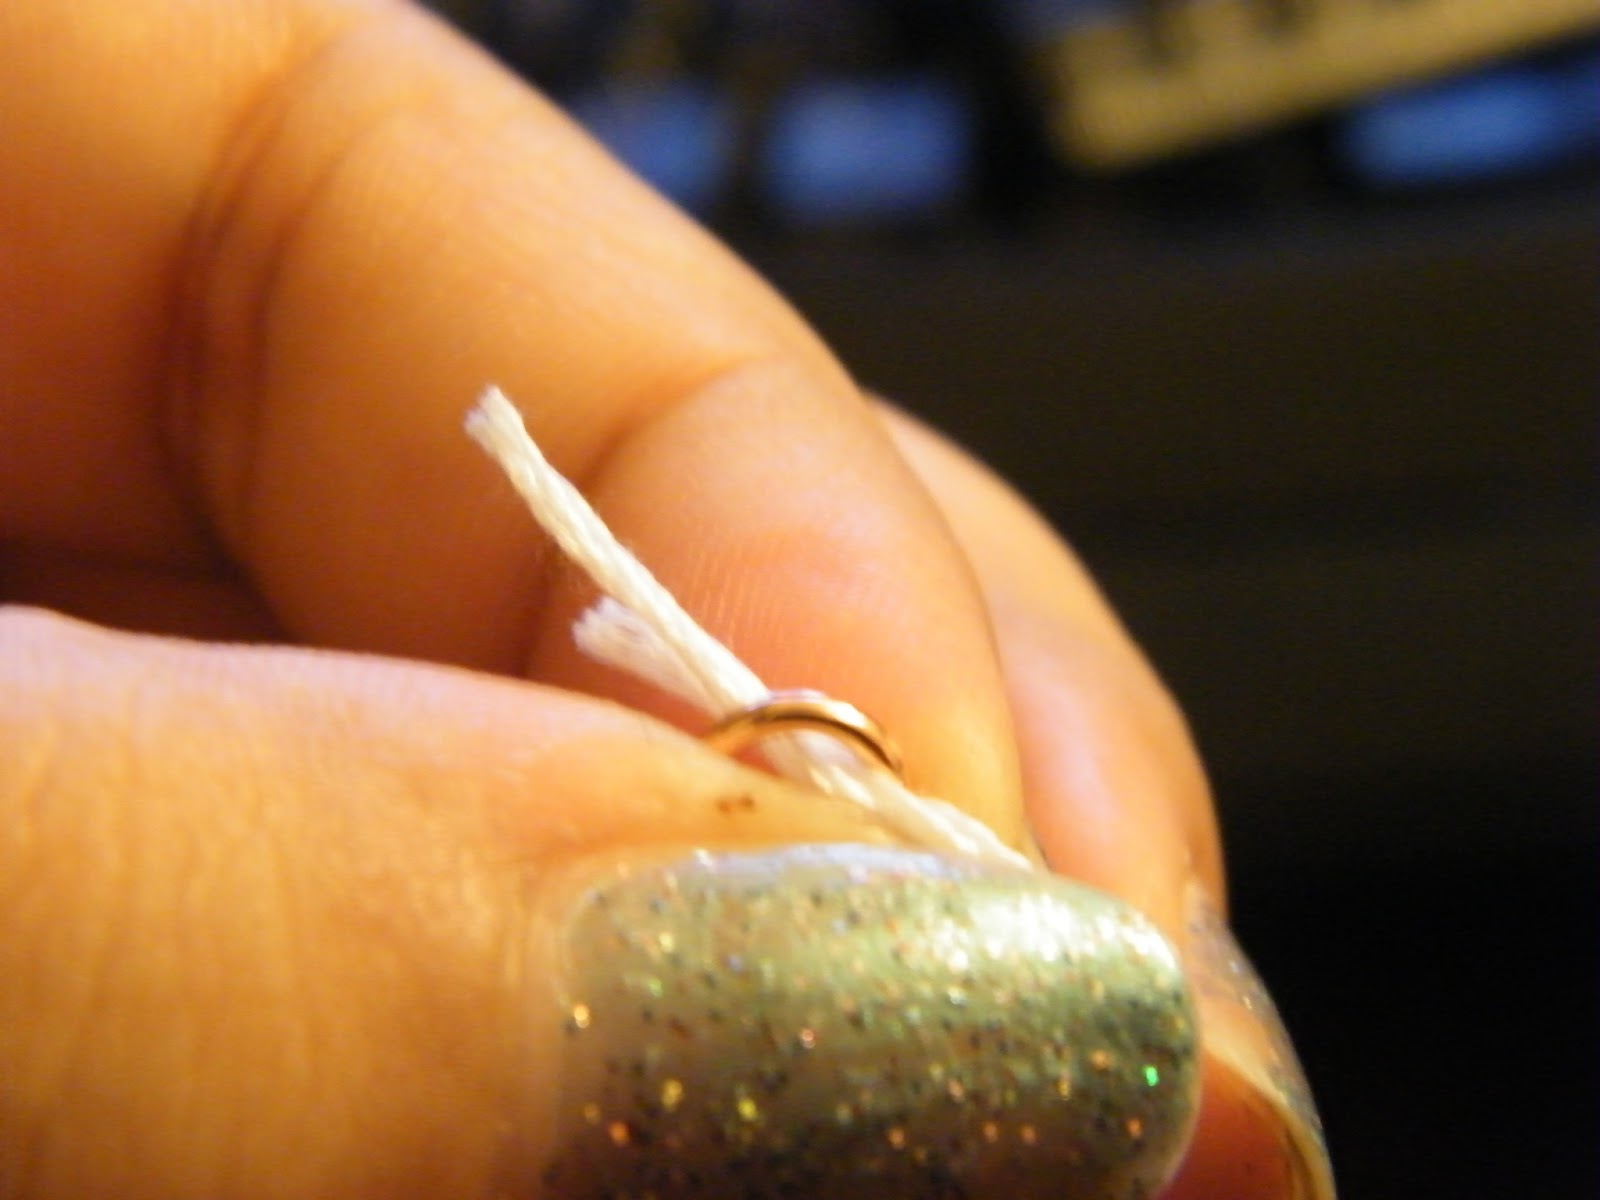

Then putting those ends through the loop that's left on the other side of the link.

And pulling tight.

I actually liked the way the strands looked loose as well.


I was definitely considering leaving it like this, but in the end, I wanted to braid it.

So I secured one side by slipping one end under a mason jar and closing the jar.

Then I did a four strand braid on both ends.

I secured them closed the same way I did the other bracelets.

And couldn't choose which one I liked better. So I ended up sending both to each of the six in the exchange. And of course I kept one of these for myself too.
I actually made a couple of these in mint as well, which I think is equally cute.
I had fun making these. I don't know if I'll feel like making the rope ones again anytime soon - just because the technique is so monotonous and lengthy. By the time I got the hang of it, it took about an hour and a half to two hours to make a bracelet in the rope style. I preferred the braided bracelet. It didn't take as long and didn't feel as monotonous. :)


This is a really nice article you have in your blog i like to read these! friendship bracelets
ReplyDeleteThis post is worthy of appreciation, looking forward to more exciting! Swarovski Crystals
ReplyDelete